Test leak for testing leak measurement devices
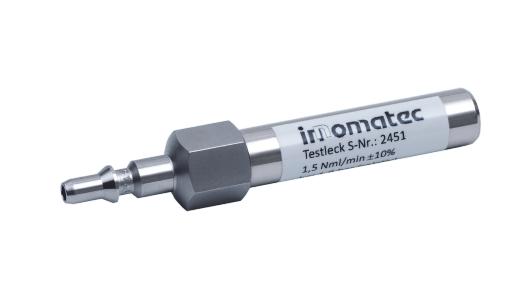
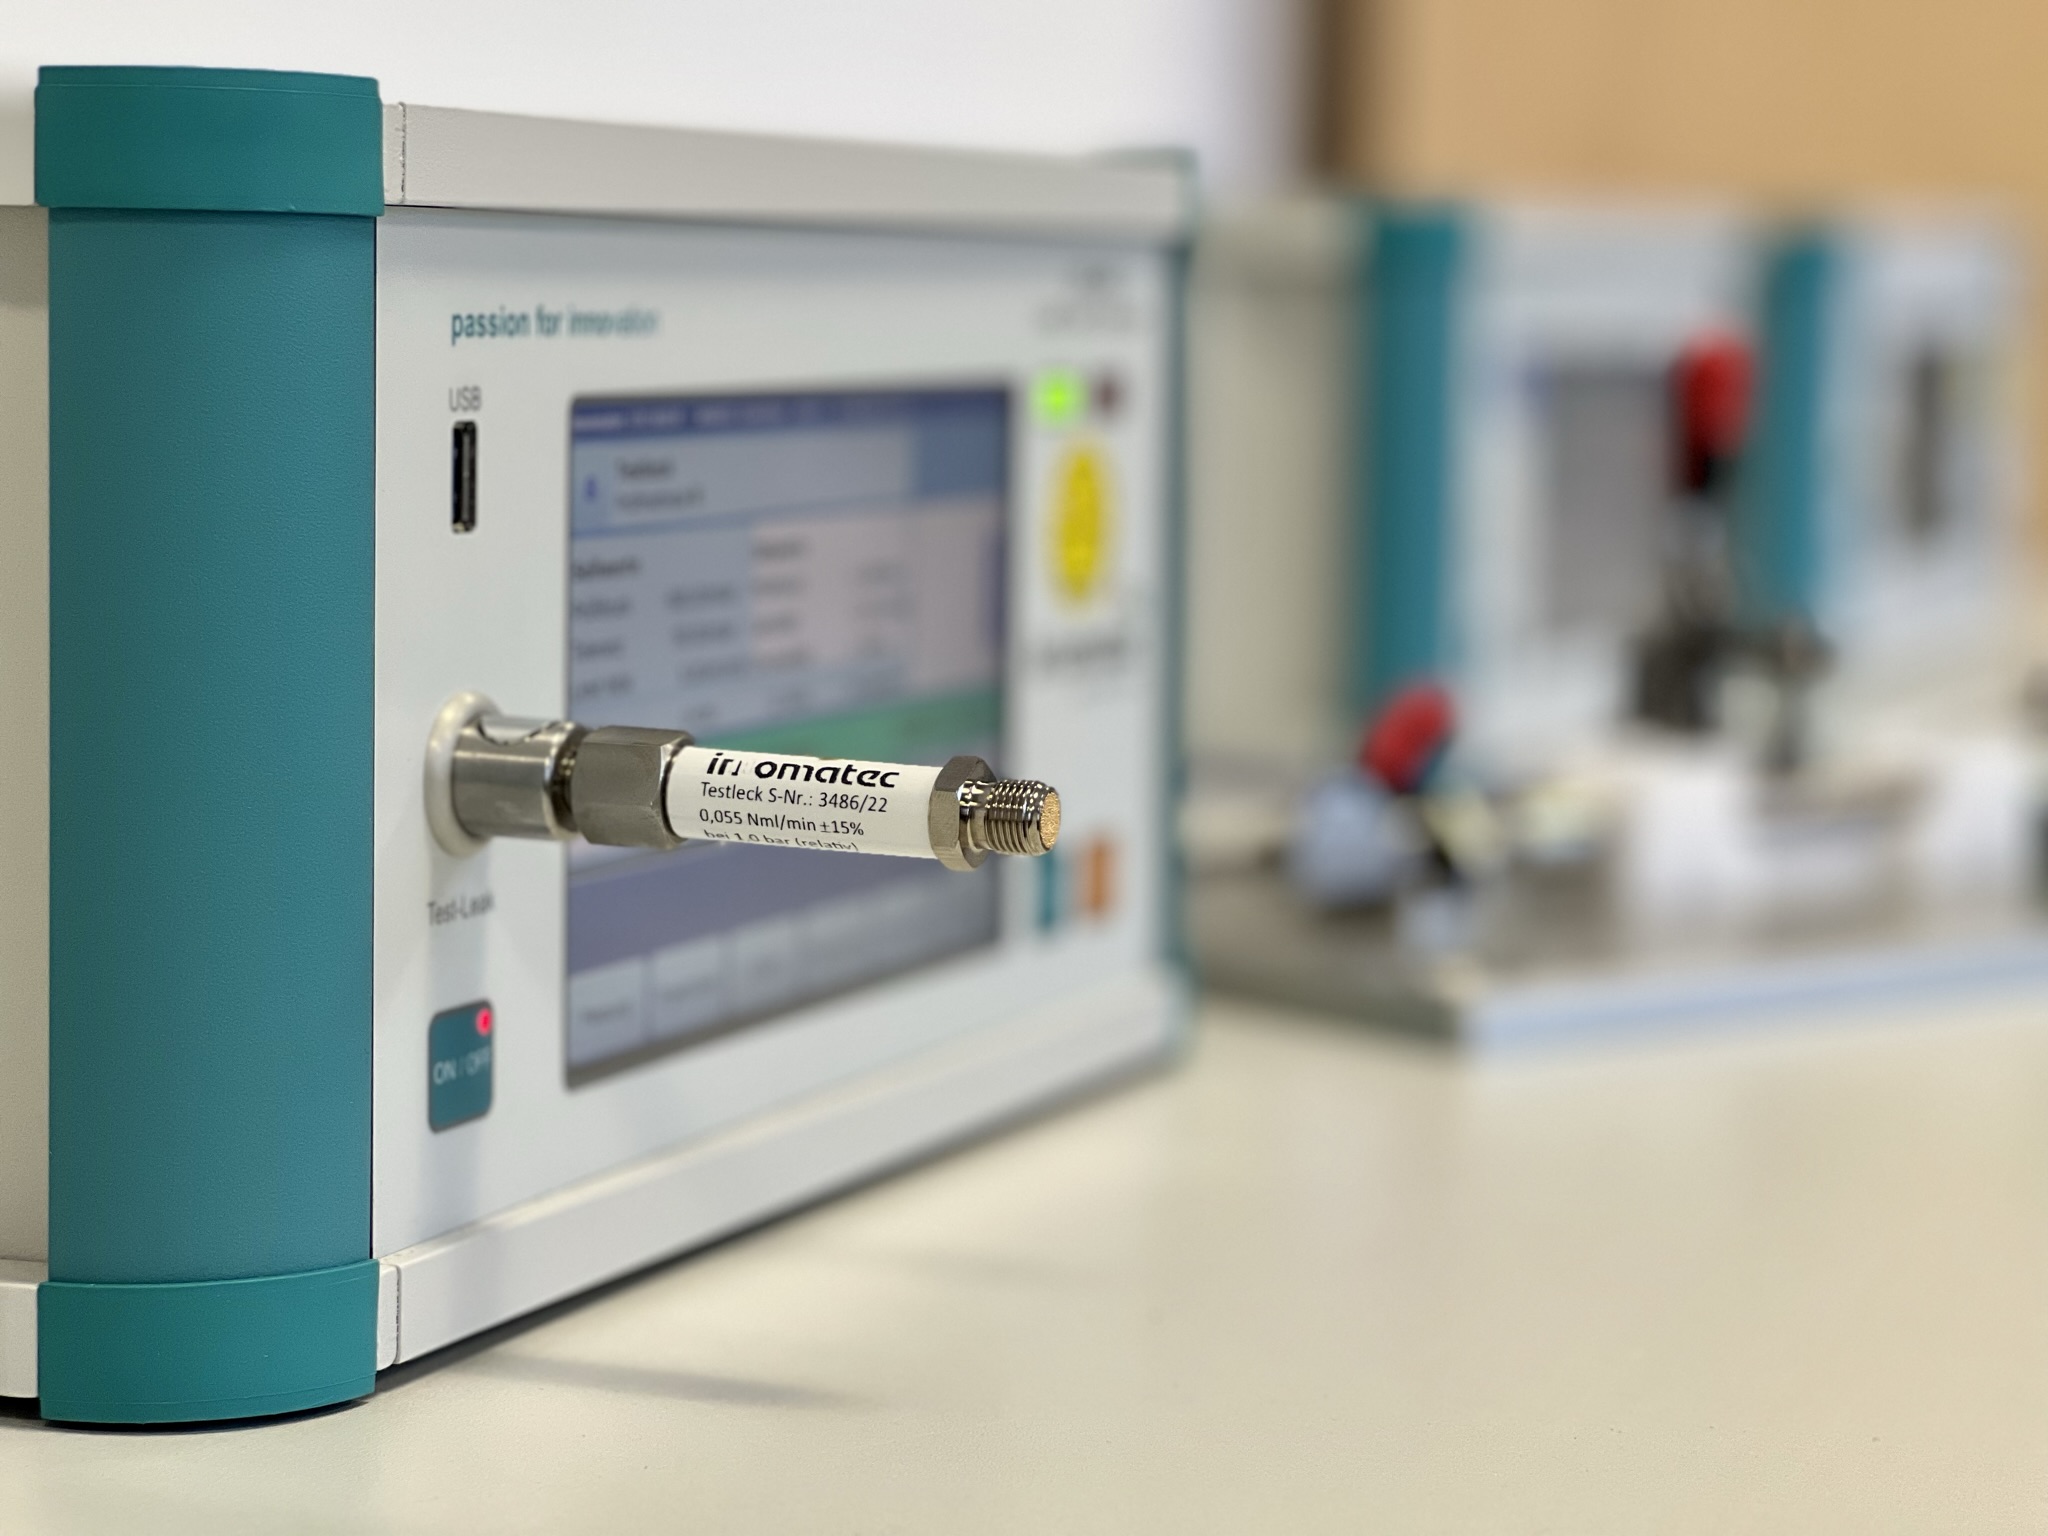
Use of the test leak
The innomatec test leak is used for thoroughly inspecting leak measurement devices and/or leak testing systems as part of quality assurance. To do this the test leak is connected in parallel to a defined tight test piece. The leak measurement device or the leak testing system needs to recognise the leak simulated by the test leak. In this way the functional capability of the entire test equipment can be checked easily, quickly and cost-effectively. This can be initiated at any opportunity, at shift change, tool change or with specific incidents.
Operation
The innomatec test leak has a housing of brass or stainless steel and an in-built glass capillary tube. There is a filter at the entrance to the glass capillary tube to protect from contamination. The test leak stands out for its particular durability. A site calibration certificate or, on request, a DKD certificate is provided with every test leak. We recommend annual calibration. The innomatec test leak is supplied in a storage case.
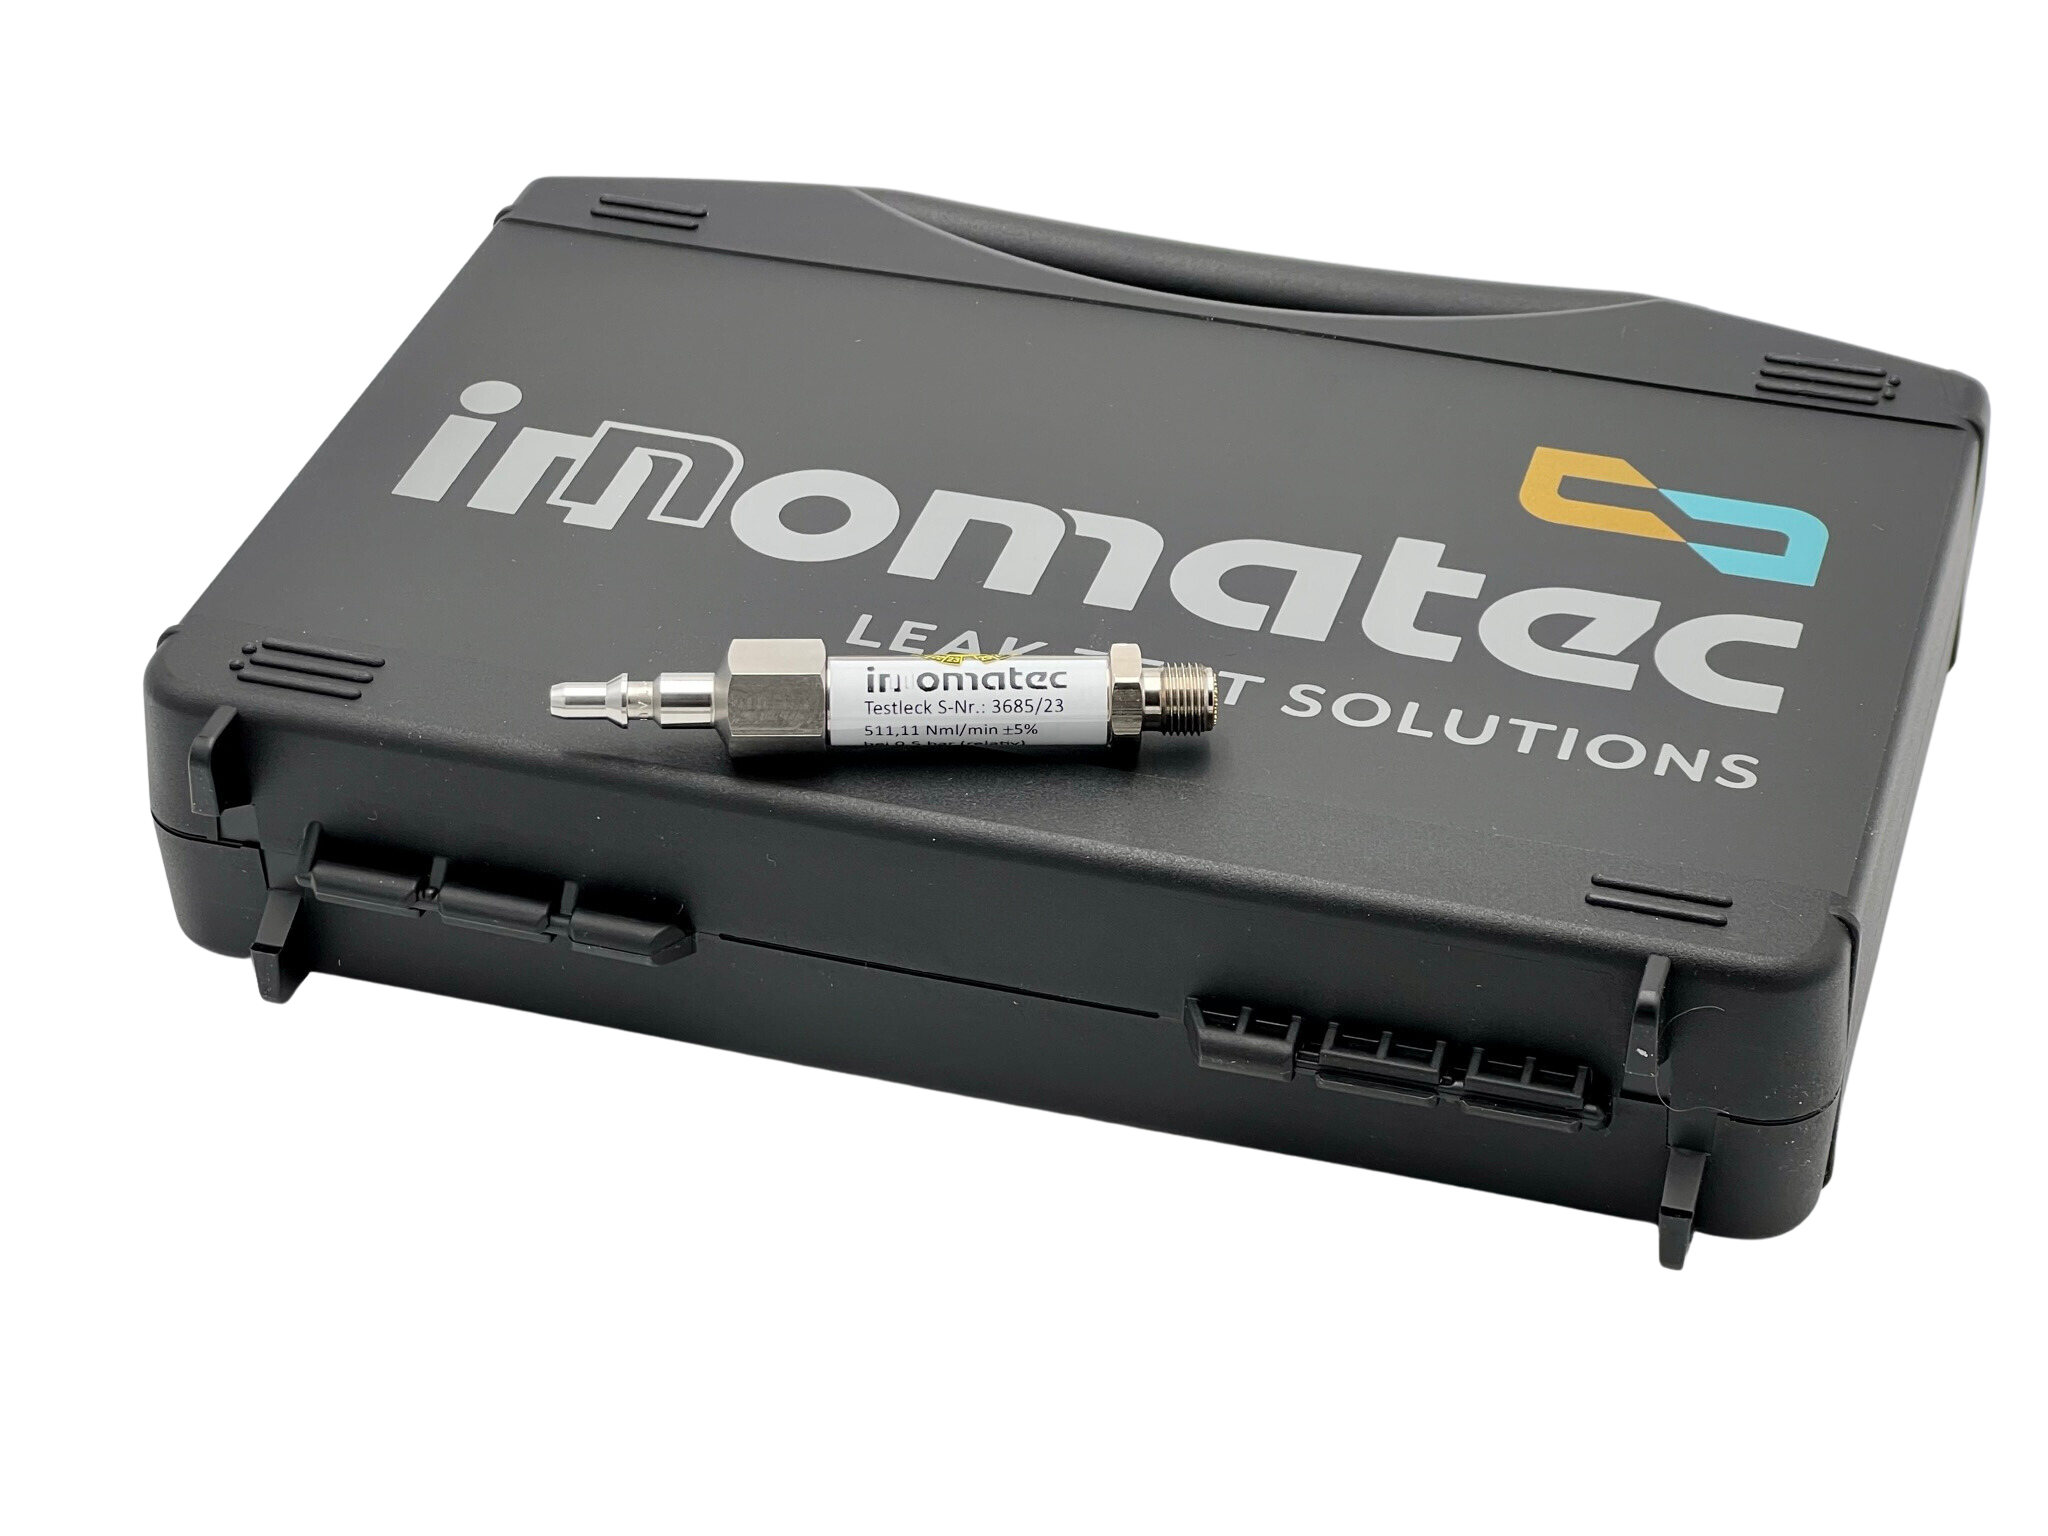
A calibration work certificate or optionally a DAkkS calibration certificate is supplied with each test leak.
Characteristic range
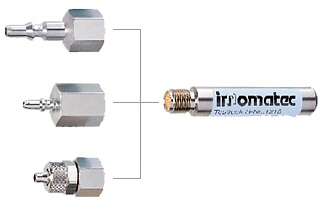
The innomatec test leak can be used for all test methods (pressure difference, flow, trace gas). Corresponding accessories and adapters for connecting to your devices are available. It can also be integrated directly into a test piece.


The innomatec test leak is manufactured within +/- 5% of the target value. The accuracy of the leak rate given is better than +/- 0,1%
The test leak is characterised by the test pressure and leak rate (flow) and can be applied as standard in many areas. Special designs are available at any time.
The test leak is characterised by the test pressure and leak rate (flow) and can be applied as standard in many areas. Special designs are available at any time.
Connection possibilities
Technical specifications
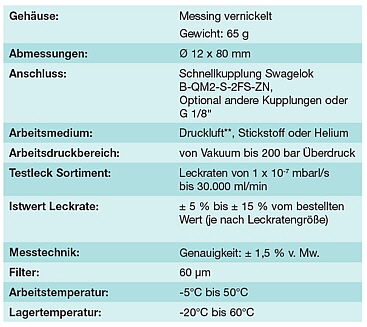
Further detailed information can be found on the corresponding data sheet.
